Getting Started
Create your account
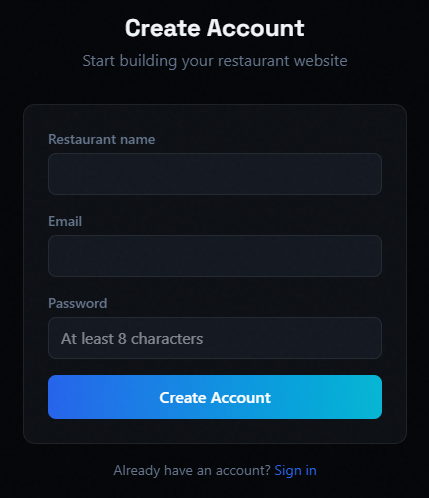
Head to the registration page and enter your restaurant name, email address, and a password (at least 8 characters). Click Create Account to get started — no credit card required.
Already have an account? Use the Sign in link at the bottom of the form.
Choose a template
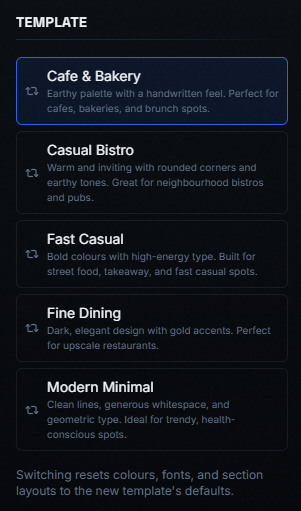
After signing up, you'll pick a template that sets the overall look and feel of your site. There are twelve options to choose from:
- Cafe & Bakery — warm, inviting tones for cafes and bakeries
- Casual Bistro — relaxed, approachable style
- Fast Casual — bold, modern design for quick-service restaurants
- Fine Dining — elegant dark theme with refined typography
- Modern Minimal — clean, minimal layout with lots of whitespace
- Luxe Noir — cinematic dark luxury with champagne gold and editorial serif type
- Neo Fusion — contemporary glassmorphism with animated aurora gradients
- Saffron — jewel tones, an arched photo frame and a slow-turning mandala, made for spice-led kitchens
- Brasserie — Parisian art deco in cream, bottle green and brass, for bistros and wine bars
- Izakaya — dark wood and vermilion with a noren-curtain hero, for Japanese and pan-Asian kitchens
- Trattoria — terracotta and olive with a paper menu card, for Italian and Mediterranean kitchens
- Coastal — bright white and ocean blue with drifting waves, for seafood and seaside spots
The builder at a glance
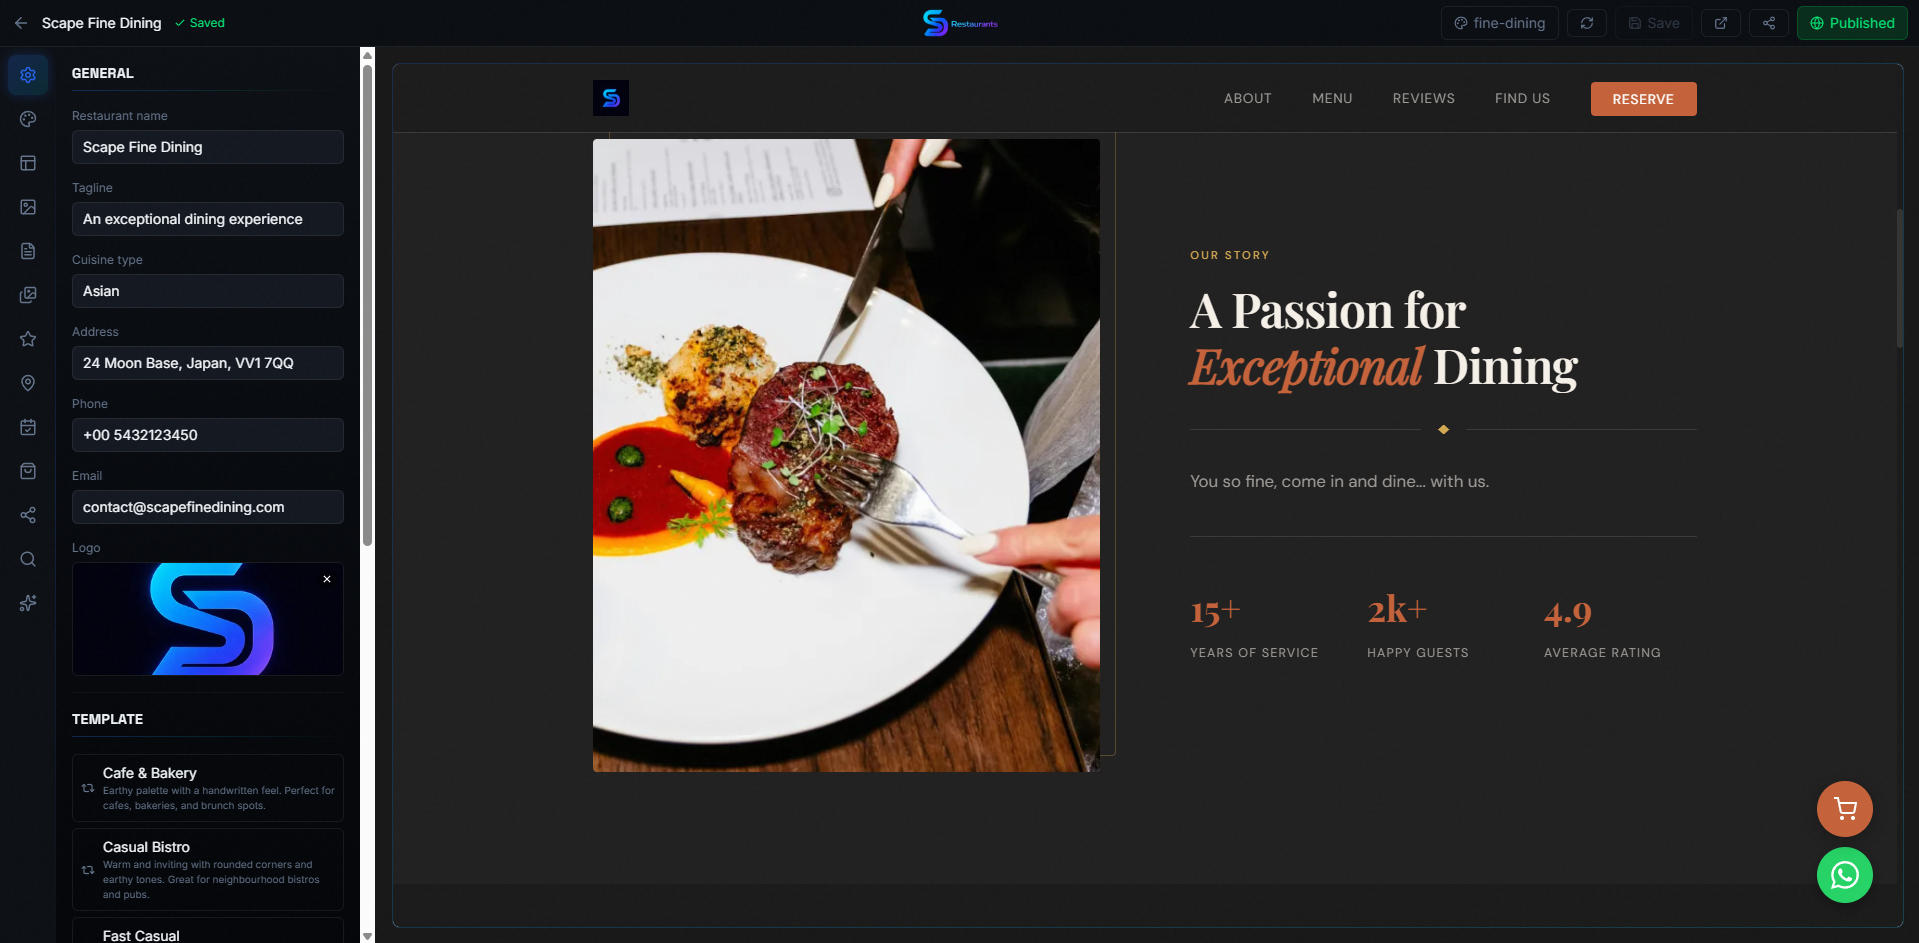
Once you select a template, the builder loads. It has two main areas: the editing panel on the left and a live preview of your website on the right. Every change you make in the panel is instantly reflected in the preview.
Builder Panels
The left sidebar contains several panels, each controlling a different part of your site. Click any icon in the sidebar to switch between them.
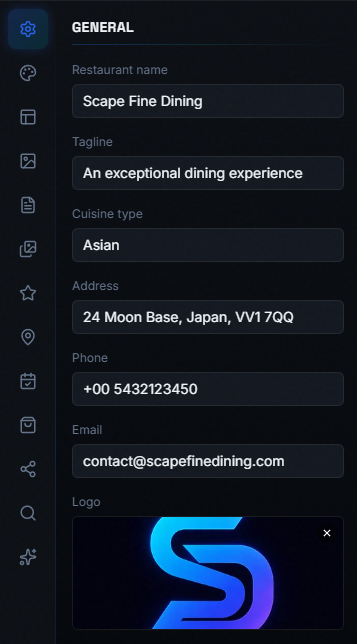
General
Set the basics: your restaurant name, tagline, cuisine type, address, phone number, email, and upload your logo. These details appear across your site — in the header, footer, and contact sections.
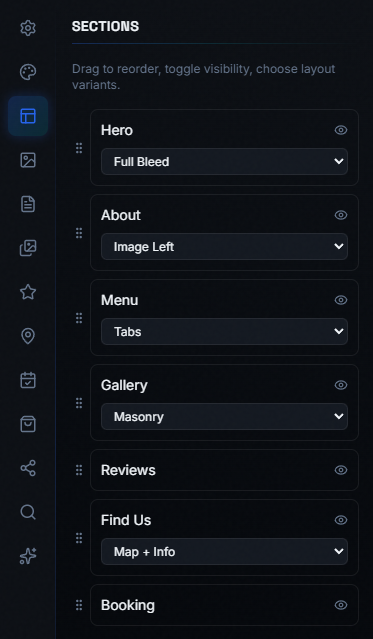
Sections
Control which sections appear on your site and how they look. Drag sections to reorder them, toggle visibility with the eye icon, and choose a layout variant from the dropdown for each section. Available sections include Hero, About, Menu, Gallery, Reviews, Find Us, and Booking.
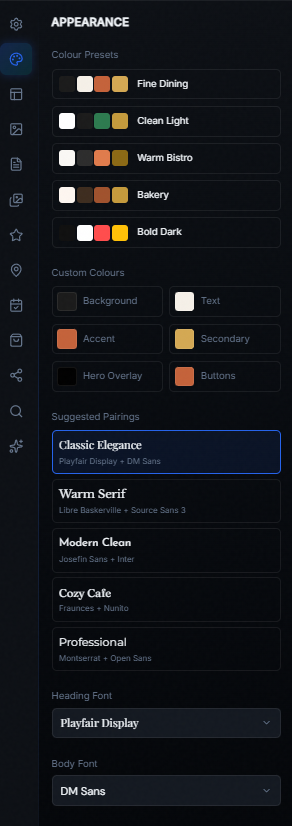
Appearance
Customise the visual identity of your site. Choose from colour presets (Fine Dining, Clean Light, Warm Bistro, Bakery, Bold Dark) or set custom colours individually for background, text, accent, secondary, hero overlay, and buttons.
Below the colours, pick a font pairing from the suggested options (e.g., Classic Elegance, Warm Serif, Modern Clean, Cozy Cafe, Professional) or choose individual heading and body fonts.
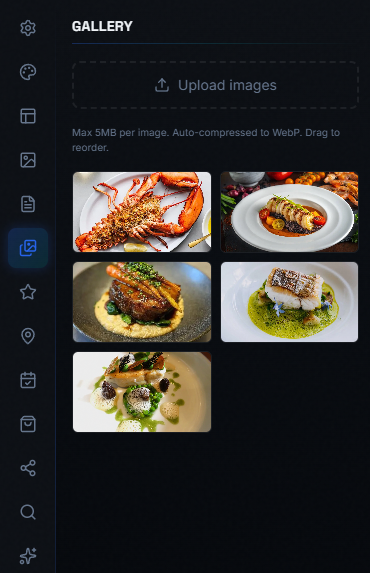
Gallery
Upload photos of your food, interior, or ambience. Images are auto-compressed to WebP for fast loading (max 5 MB per image). Drag and drop to reorder them. The gallery section on your site will display these images in the layout variant you chose (e.g., Masonry grid).
About
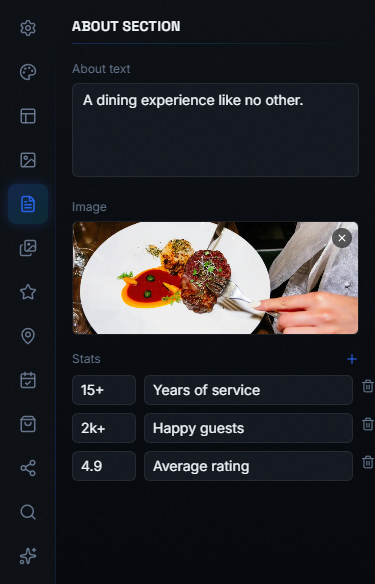
Write a short description of your restaurant in the About text field. Upload an image to accompany it. Add up to four stats (e.g., "15+ Years of service", "2k+ Happy guests", "4.9 Average rating") that appear as highlights on the about section of your site.
Find Us
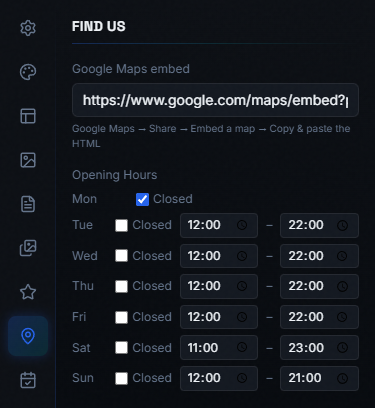
Embed a Google Map by pasting the embed URL from Google Maps (go to Google Maps → Share → Embed a map → copy the URL). Set your opening hours for each day of the week — mark days as closed or set specific open and close times.
SEO
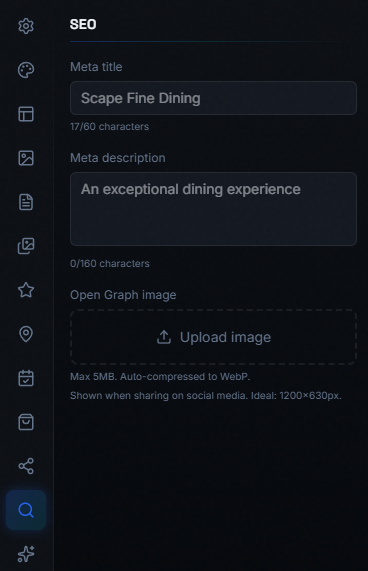
Improve how your site appears in search results and social media shares. Set a meta title (up to 60 characters), meta description (up to 160 characters), and upload an Open Graph image (ideal size: 1200 × 630 px) that shows when your link is shared on Facebook, WhatsApp, or other platforms.
Social Links
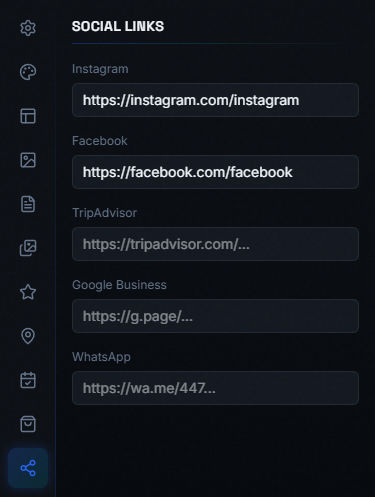
Add links to your social media profiles: Instagram, Facebook, TripAdvisor, Google Business, and WhatsApp. These appear as icons on your published site, linking visitors to your profiles.
Booking
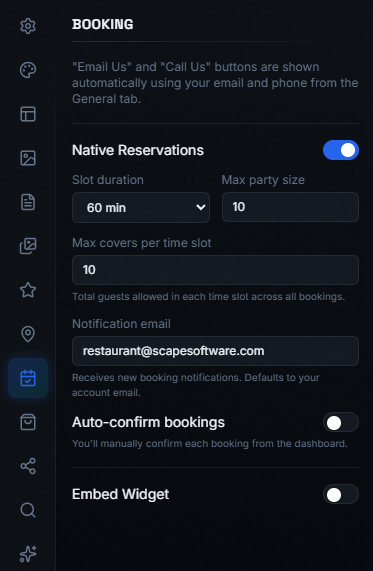
Enable Native Reservations to let customers book a table directly on your website. Configure:
- Slot duration — length of each booking slot (e.g., 60 minutes)
- Max party size — the largest group you accept
- Max covers per time slot — total guests allowed in each slot across all bookings
- Notification email — where booking notifications are sent (defaults to your account email)
- Auto-confirm bookings — toggle on to confirm reservations automatically, or leave off to review and confirm manually from the dashboard
Ordering
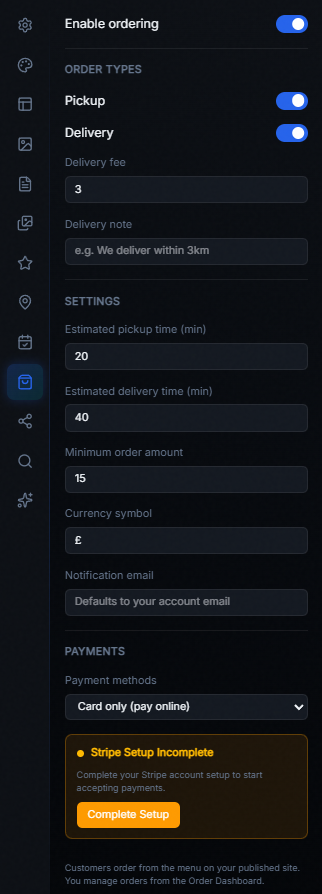
Enable online ordering to let customers place pickup and/or delivery orders directly from your site. Configure:
- Order types — enable Pickup, Delivery, or both
- Delivery fee and optional delivery note (e.g., "We deliver within 3km")
- Estimated pickup/delivery time — shown to customers at checkout
- Minimum order amount
- Currency symbol — matches your locale (e.g., £, $, €)
- Payment methods — "Card only (pay online)" or "Pay at pickup/delivery". Card payments require connecting your Stripe account via the Complete Setup button
Menu Manager
Organise your menu
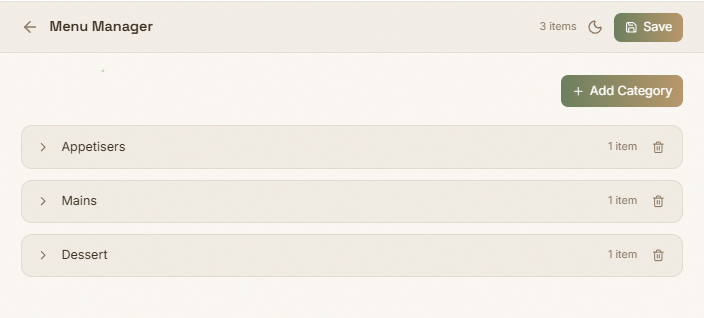
The Menu Manager is a dedicated page (separate from the builder) where you build your full menu. Create categories (e.g., Appetisers, Mains, Dessert) and add items to each. The header shows the total item count and a Save button to persist your changes.
Edit menu items
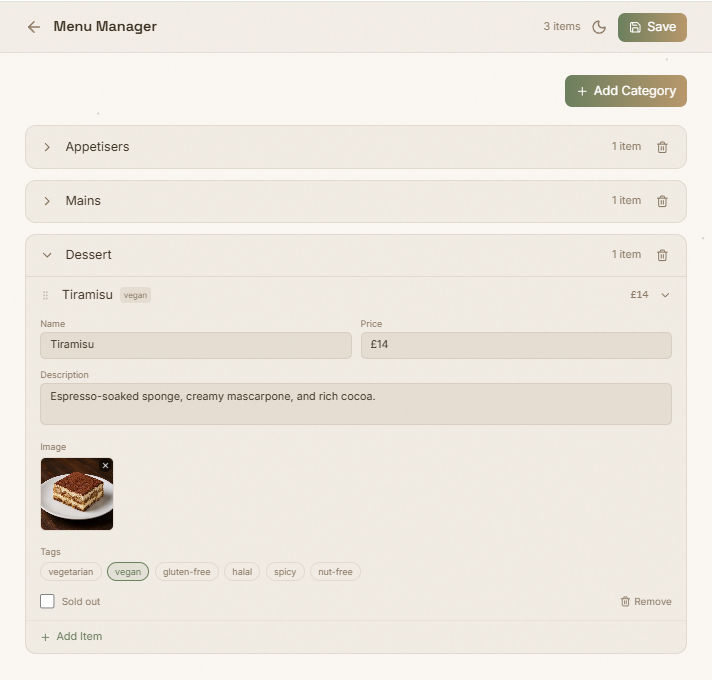
Expand a category to see its items. Click an item to edit it. For each item you can set:
- Name and price
- Description — a short line about the dish
- Image — upload a photo of the dish (auto-compressed)
- Tags — mark items as vegetarian, vegan, gluten-free, halal, spicy, or nut-free. Tags are displayed as badges on your live site
- Sold out — check this to grey out the item on your site and prevent it from being ordered. Useful for mid-service changes
Use + Add Item at the bottom of a category to add more items, or Remove to delete one.
Publishing & Sharing
Publish your site
When you're happy with your site, click the green Publish button in the top-right corner of the builder. Your site goes live instantly on your subdomain (e.g., your-restaurant.scapesoftware.com). The button changes to Published with a green checkmark to confirm.


Share & QR code
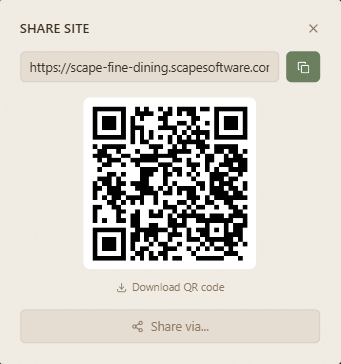
Click the share icon in the top bar to open the Share modal. From here you can:
- Copy your site URL to the clipboard with one click
- Download a QR code — print it on menus, table tents, or flyers so customers can scan and visit your site
- Share via... — use your device's native share sheet to send the link via WhatsApp, email, or any other app
Export as ZIP
Need a standalone copy of your site? Click Download as ZIP in the General panel to get a self-contained HTML file with all your images bundled in. Useful for backups or hosting on your own server.
Dashboards
Order Dashboard
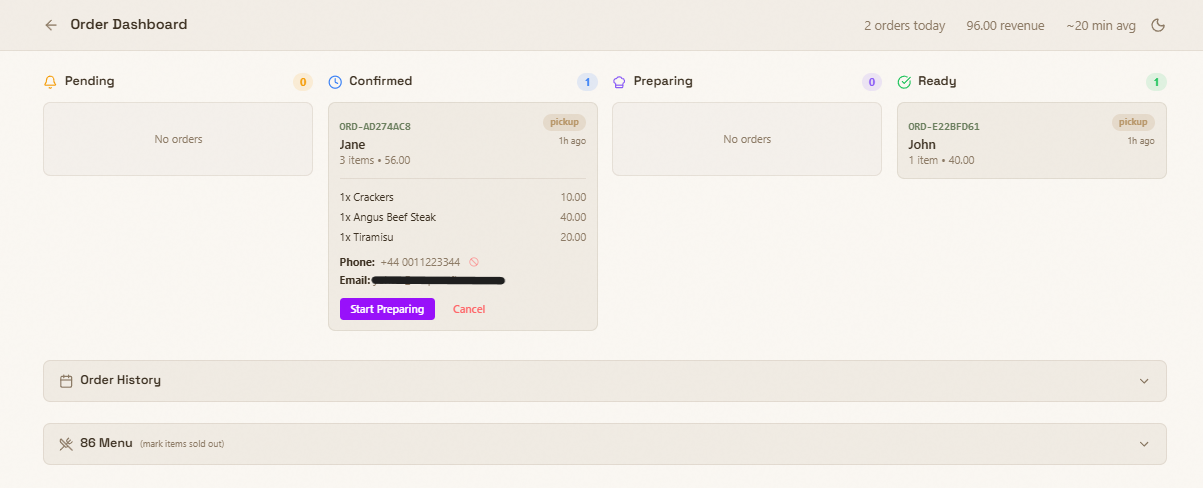
Manage incoming orders in a kanban-style board with four columns: Pending, Confirmed, Preparing, and Ready. Each order card shows the customer's name, items, total, and order type (pickup or delivery).
When a new order arrives, it appears in the Pending column. Accept it to move it to Confirmed, then Preparing, and finally mark it as Ready. Customers receive email updates at each stage. You can also reject orders with a reason if needed.
Below the board, Order History shows all past orders for reference.
Reservations Dashboard
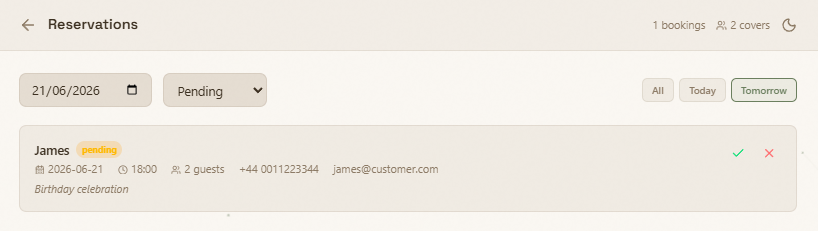
View and manage all table bookings. Filter by date and status (Pending, Confirmed, Cancelled), or use the quick-filter buttons (All, Today, Tomorrow). Each booking shows the guest's name, date, time, party size, phone, email, and any special requests.
Click the green tick to confirm a reservation or the red cross to decline it. The customer receives an email notification either way.
Analytics Dashboard
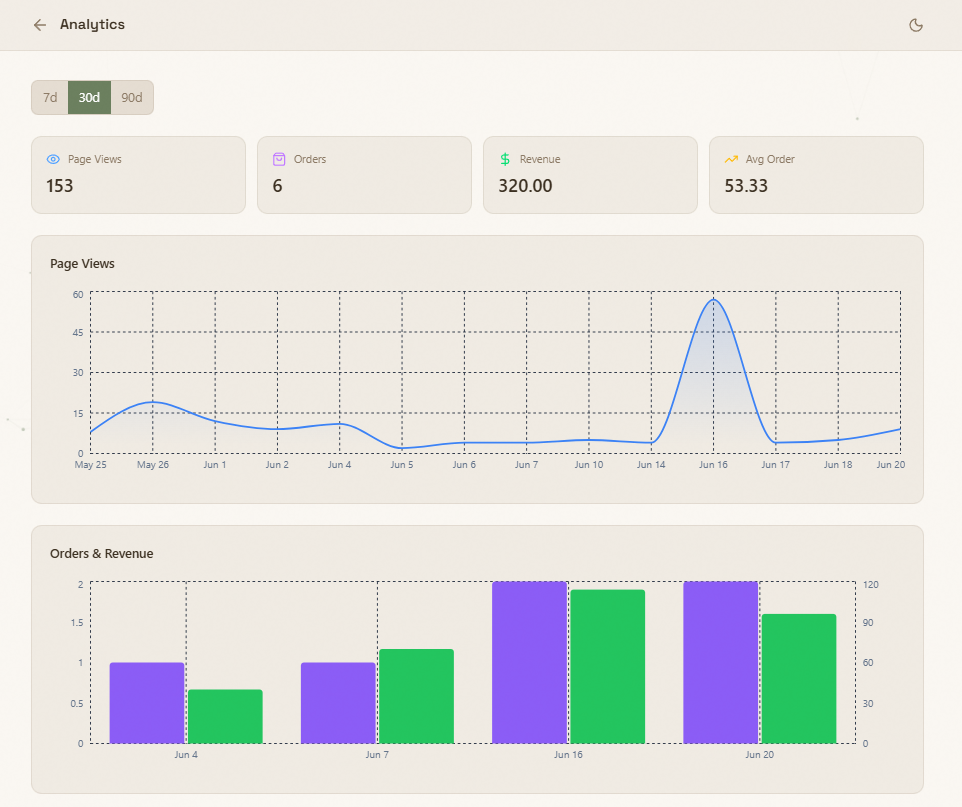
Track your site's performance at a glance. The summary cards show Page Views, Orders, Revenue, and Average Order Value. Below, two charts visualise trends over time:
- Page Views — a line chart showing daily visitor traffic
- Orders & Revenue — a bar chart comparing order volume and revenue side by side
Reservations — What Your Customers See
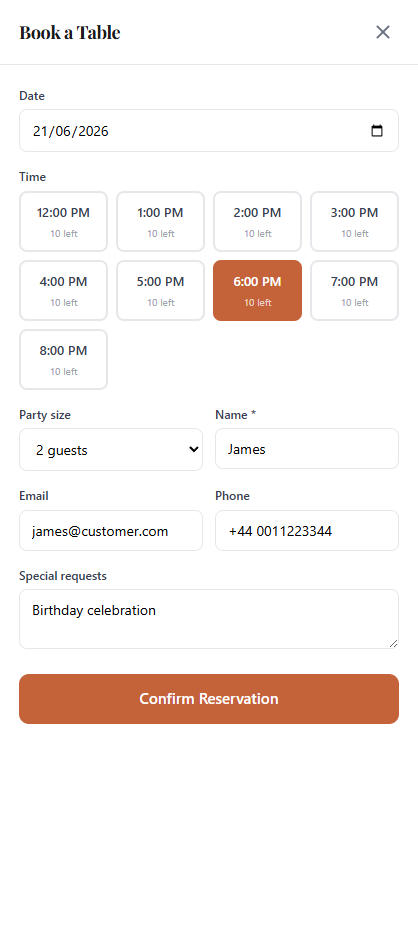
When a customer visits your published site and clicks Book a Table, they see a clean booking form. They select a date, pick an available time slot (showing remaining capacity, e.g., "10 left"), choose a party size, and enter their name, email, phone, and optional special requests.
After clicking Confirm Reservation, the booking appears on your Reservations Dashboard for you to confirm or decline.
Online Ordering — What Your Customers See
Here's the full ordering flow your customers go through when placing an order on your site.
Step 1: Checkout
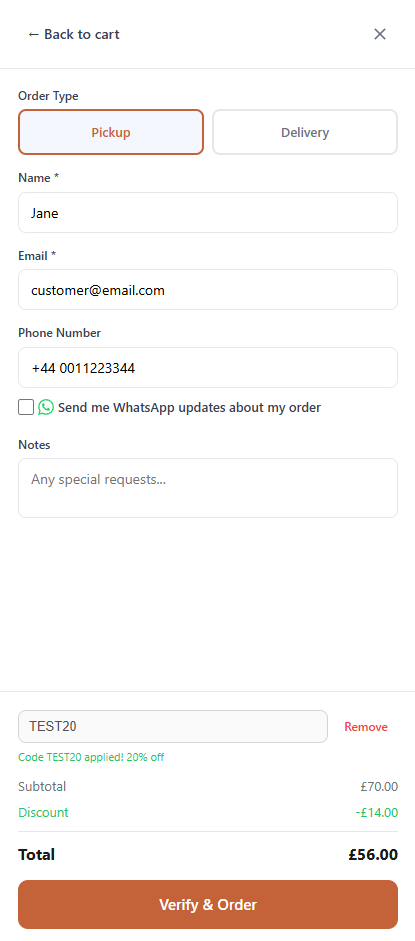
After adding items to their cart, the customer proceeds to checkout. They choose an order type (Pickup or Delivery), enter their name, email, and phone number. They can opt in to WhatsApp updates, add notes (e.g., special requests), and apply a promo code for a discount. The order summary shows the subtotal, any discount, and the final total.
Step 2: Email Verification
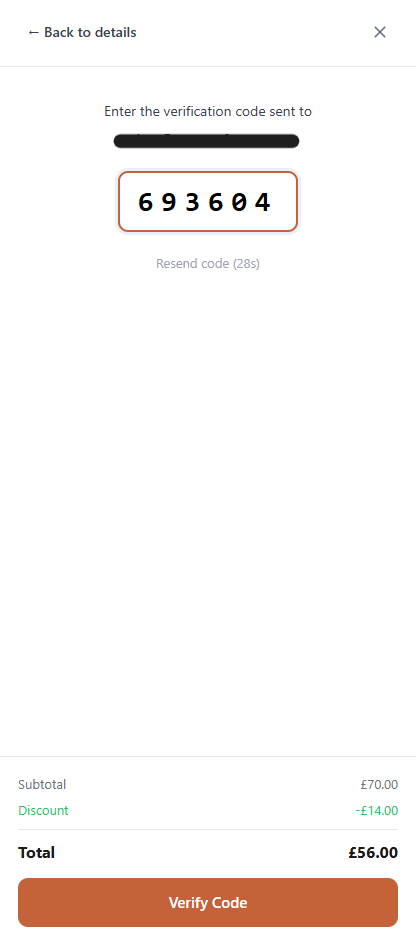
To prevent spam orders, customers verify their email with a one-time code. A 6-digit code is sent to their email — they enter it and click Verify Code. A resend option is available after a short countdown.
Step 3: Payment
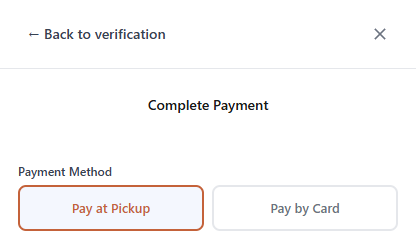
After verification, the customer chooses a payment method. Depending on your settings, they can Pay at Pickup (or delivery) or Pay by Card using Stripe's secure payment form. Card payments are processed instantly and go directly to your connected Stripe account.
Step 4: Order Confirmed
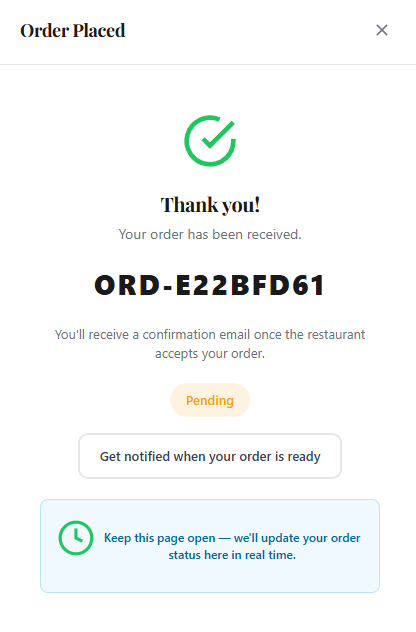
Once the order is placed, the customer sees a confirmation screen with their order number, a Pending status badge, and a message that they'll receive an email once you accept the order. They can keep the page open to see real-time status updates as you move the order through your dashboard.
Account & Billing
Your Dashboard
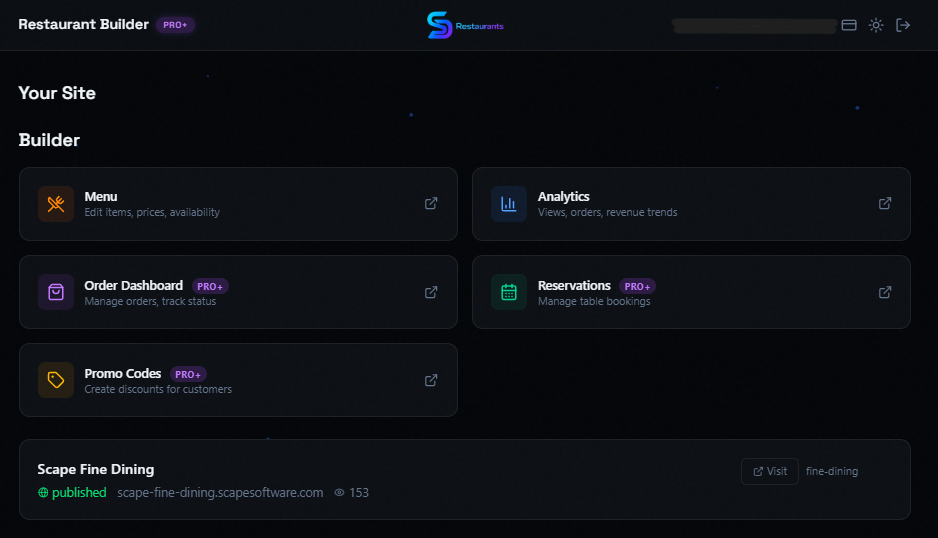
The main dashboard is your home base after logging in. It shows your site with quick-access tiles to the key areas:
- Builder — jump back into the site editor
- Menu — open the Menu Manager
- Analytics — view your site's performance
- Order Dashboard — manage incoming orders
- Promo Codes — create and manage discount codes
Your site card shows the restaurant name and current plan status.